


Why More Developers See Value in Ahrefs Group Buy for Debugging Workflows

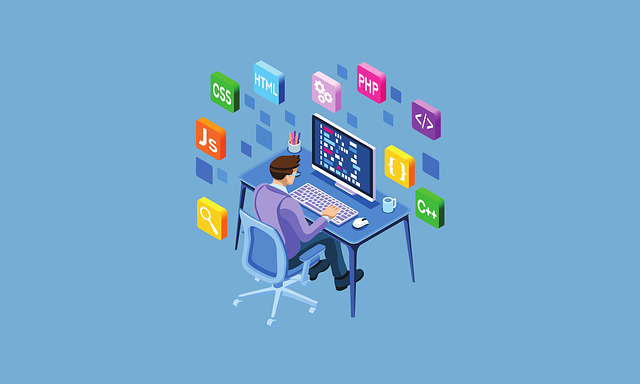
Many software developers say debugging can take an incredibly long time. Having access to detailed information, organized data, and advanced tracking can help. Interestingly, help is available in the form of the Ahrefs group buy, which is a cost-effective way of assisting marketers with SEO, and a developer’s resource for debugging.
Affordable Access to Valuable Data
To debug, software developers need to cross-check various logs, error traces, and traffic data. And spending on an entire premium subscription for SEO tools is a bit much. A group buy plan is a beneficial option that offers shared access to a premium subscription at a lower price.
In terms of debugging, developers can afford to pay for advanced site crawling and indexing. This expenditure is much cheaper than the cost of debugging. The result allows teams [….]
 To learn from bots, developers need to understand how they work. Most Reddit upvote bots rely on automating API interactions [….]
 Digital marketing has become a core driver for business growth worldwide. Effective marketing channels have opened doors for businesses, from reaching customers through targeted ads to building brand communities. Software code bugs, conversely, present constant challenges in achieving seamless digital interactions, often disrupting a user’s experience and eroding trust in a brand. Combining knowledge of digital marketing and technical debugging skills is essential for marketers, developers, and business owners alike.
 Towing companies


 Temporary Internet Files
 A perk of owning voting shares is the ability to vote on issues of corporate policy. The common stock of a company typically represents voting shares. Preferred stock is one type [….]


 Every piece of software is built through lines of code written by developers. These lines tell the program what to do, when to do it, and how to respond to certain actions. However, even small mistakes in the code can cause major issues. These mistakes are called bugs. A bug can be as simple as a missing character or as big as a logical flaw that crashes an entire system.
 SAP S/4HANA is a powerful ERP platform, but implementing SAP S4 HANA software isn’t always smooth. Many organizations run into common bugs—some minor, others project-threatening. These issues can slow down deployment, increase costs, or hurt business operations. The good news is most of them are avoidable with the right preparation and execution.
 League of Legends (LoL) is one of the most popular multiplayer games in the world. But, like any fast-paced competitive game, performance matters. Low FPS (frames per second) and high latency (lag) can cost you kills, objectives, and even matches. That’s where game optimization software comes in. These tools can boost your PC performance, helping you play more smoothly and respond faster in-game. For players looking to climb the ranks without starting from scratch, many choose to buy LoL smurf accounts to skip early grind and jump straight into higher-level gameplay.